Shimmer Spray Magic: A Simple Way to Elevate Cardstock
by Michelle Short October 3, 2026

Key Takeaways
Instant Luminosity: Elevate plain cardstock into a high-end, shimmered finish using fine mists and splatter techniques with metallic ink sprays.
Custom Color Matching: Don't have the right shade of cardstock? Use ink blending over existing cardstock or white base stock to create custom color gradients.
Dimension & Texture: Combine die-cut flower layers with liquid adhesive and foam tape for maximum structural dimension on handmade cards and tags.
Hello there, Michelle here with another edition of Terrific Tags with Michelle. Today, I have a fun paper crafting technique to share to elevate your cardstocks by adding shimmer spray.
If you've ever felt like flat paper lacks visual interest, learning how to elevate cardstock with ink sprays is an absolute game-changer. You can quickly transform basic, plain cardstock into a luminous, shimmering masterpiece with just a couple of sprays!

Step 1: Die-Cut & Custom Ink Blend Cardstock Roses & Leaves
First up, I die-cut the flowers and leaf clusters using the Jumbo Garden Picks Layering Die Set from Crafty Necessities Cardstock.
Ideally, since there are four distinct layers to these dimensional flowers, using four matching shades of cardstock works best. However, I only had three shades on hand, so I used ink blending to darken one shade and create custom cardstock on the fly:
Base Layer & Next Layer Up: Die-cut from Teal Cave.
Second-to-Top Layer: Die-cut from Aqualicious.
Top Layer: Die-cut from Dew Drops.
Leaves: Die-cut from Bamboo.

Pro Tip for Custom Cardstock Shades:
Since the base layer wasn't quite dark enough to create contrast, I secured the die cuts onto my Sticky Mat and blended Galactic Stream Fresh Dye Ink over them using a Mini Blending Brush. While this doesn't yield the exact same shade as a pre-colored cardstock sheet, it creates a rich, darker tone that provides necessary depth.
Need a lighter cardstock shade instead? Start with a plain white cardstock base and apply a soft, light layer of dye ink on top with a blending brush!
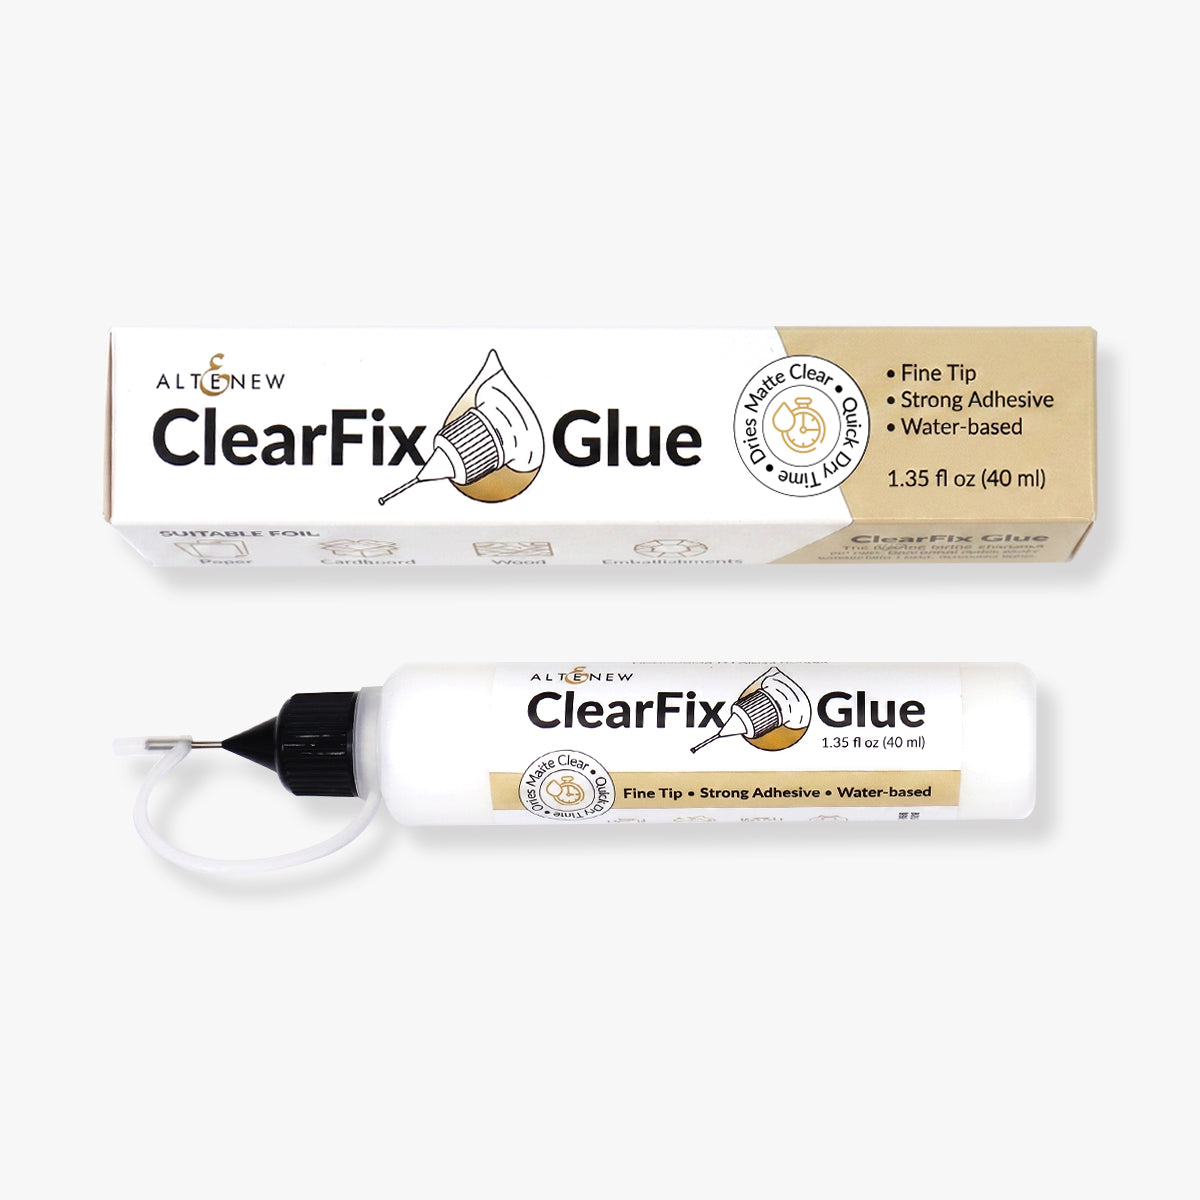
Once inked, I assembled and layered the flowers using ClearFix Glue. Always check the product packaging for an easy alignment guide showing where to line up each die-cut layer.

Step 2: How to Elevate Cardstock with Shimmer Spray Techniques
While using multi-tonal cardstock creates structural depth, plain cardstock can still look a bit flat under flat light. This is where learning how to elevate cardstock with shimmer sprays really shines!
Splatter Technique: First, I applied Ocean Waves Metallic Shimmer Ink Spray to the cardstock roses. By pressing the spray nozzle down halfway rather than fully, you produce bold, organic splatters across the petals instead of a uniform fine mist.
Fine Mist Technique: Next, I sprayed a fine, continuous mist of Iridescent Shimmer Ink Spray over the entire rose assembly to add an overall radiant glow.
Accent Leaves: Repeat the same process for the die-cut leaves, using slightly less splatter so the floral focal point remains the star of the show.

Step 3: Card Assembly and Finishing Touches
While the shimmer spray was drying on the florals, I began assembling the card base and tag elements:
Tag Preparation: Die-cut a tag from the Best Wishes Tags Die Set on white cardstock. Thread silver string through the top hole and tie it off in a neat bow.
Base Layering: On a standard white A2-sized card base (4.25" x 5.5"), adhere one of the shimmering roses directly using ClearFix Glue, then tuck a leaf cluster behind it.
Dimensional Layering: Mount the die-cut tag on top using Instant Dimension Foam Tape. Secure the remaining roses using a blend of foam tape and liquid glue for varying height levels. Trim extra leaf clusters using scissors and nestle them behind the roses.
Sentiment Stamping: Stamp a greeting from the Enchanted Roses Stamp Set onto white cardstock using crisp Obsidian Pigment Ink. Cut it out with the coordinating die.
Stacked Sentiment Technique: For extra structural durability and depth, die-cut the sentiment twice more from plain white cardstock and glue them behind the stamped die cut before mounting it onto the card.
Embellishments: Finish the card by adding a few scattered Clear Iridescent Stellar Sequins for extra sparkle.

Video Tutorial: Elevate Cardstock using Shimmer Sprays
I hope I have inspired you to try adding shimmer spray onto cardstock. It really makes it shine and adds lots of interest! You can watch the video tutorial below or over on YouTube.
Thank you so much for stopping by today! I hope this inspires you to pull out your metallic sprays and experiment with easy ways to elevate cardstock on your next paper crafting project. Have a wonderful day!
Supply List
|